Get FarmSteady
Free Shipping Over $75
Pickling your own green beans is a joy. And in particular, we love pickling them using lacto-fermentation and a whole lot of dill. Fermentation preserves the crisp snap of the green bean while heaps of fresh dill add a delicately, bright flavor that instantly shoots you to the height of summer garden party season (no matter what time of year).
Fresh dill and garlic are usually the flavors you’d find in full sour cucumber pickles. (Curious? Check out our recipe for Classic Dill Pickles.) And the technique for making these Fermented Dilly Green Beans is pretty similar. No vinegar required for this recipe. All you need to get started is a salt-water brine, herbs, an optional hot pepper for a little kick, and some time.
Lacto-fermentation allows the green beans to retain all their nutrients, while also providing a healthy environments for gut-friendly bacteria you can’t get from other pickling methods. Trust us when we say that lacto-fermented Dilly Green Beans are both delicious and versatile, making them a worthy addition to your must-try list of ferments. We always find ourselves going through them faster than expected, but they’re just so delicious!
Dilly Green Beans are delightful to munch on for an afternoon snack, served as a dinner side dish, or added to a brunch Bloody Mary. They also make a wonderfully tangy addition to a stir fry, salad, or cheese board. Plus, they can even replace dill pickle chips on a burger or sandwich. They’re so easy to make, and they’re ready to eat in just one to two weeks, depending on how firm or soft you’d like them to be (and we like ours crunchy!). But taste them over the course of fermentation, and you’ll know for yourself when they’re just perfect.
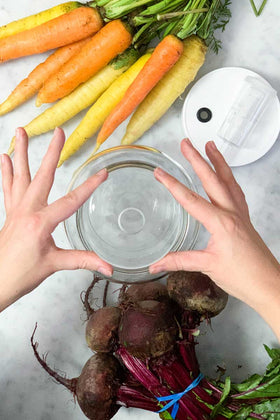
We love applying the flavors of classic dill pickles to other vegetables. It just works so well with lacto-fermentation. So if you like this recipe, we think you’ll love these other recipes too. Try making some Dill Pickle Sauerkraut, Dill Pickle Carrot Sticks. They can all be made easily with our Fermented Vegetable Kit.
How to make fermented dilly beans
When fermenting green beans, we like to find the crispiest ones we can, preferably ones that are freshly picked from the garden or purchased from the farmer’s market. When they’re not in season we just scour the market shelves until we find the firmest ones possible. Similar to when we are selecting cucumbers for fermented pickles, we want our green beans to be small, firm, and fresh so they retain that snappy crunch. We always start with two pounds so we can pack our fermentation jar full and have beans to snack on for a while.
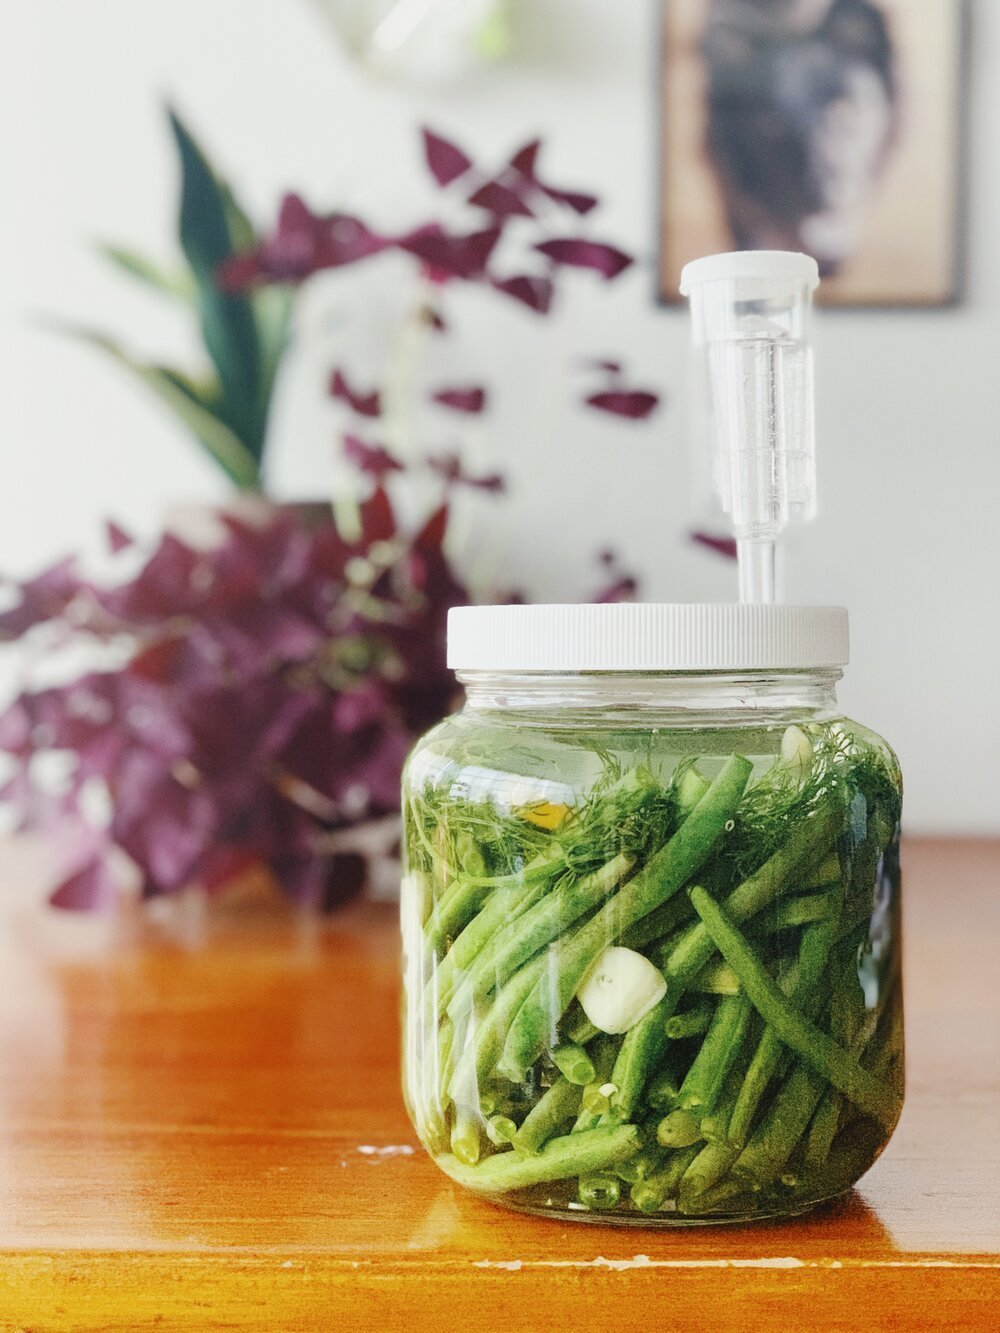
First, you’ll trim the ends of your beans and pack them into your fermenter. We wedge ours in upright so we can fit as many as possible. While adding the green beans, throw in some sprigs of fresh dill and two thinly sliced garlic cloves between them.
Once your fermenter is packed, you’ll make your brine. Simply dissolve two tablespoons of kosher salt in one quart of water. Be sure to avoid iodized salt, as iodine disrupts the fermentation process. Top the green beans with your fermentation weight and submerge in brine. Screw on the lid and top with your air lock. Then the rest is easy… we wait!
While fermenting, be sure to store them at room temperature—too warm and it could speed up fermentation (read our Tips for Fermenting in Hot Weather), and too cold it could prevent fermentation or slow it down dramatically. Taste your dilly beans one week in and see if they are tangy enough to your liking. If not, leave them for up to two weeks! Once done, you will transfer your finished Dilly Beans, brine-and-all to jars and store them in the fridge for up to two months.
Fermented Dilly Green Beans will quickly become one of your favorite ferments because of their versatility, amazing pickle flavor, and how quickly they ferment. Use them to add a tanginess to your favorite meals and afternoon snack time and love every bite of snappy crunch.

Leave a comment