Recipe: Preserved Chili Limes

Jump to recipe
Recipe: Preserved Chili Limes - FarmSteady

If limes are the star of your summer backyard party, prepare to make preserved chili limes the star of your whole pantry. We know limes to be tart and pucker-inducing, but when they’re preserved, the true flavors of the citrus shines through. The sour bite you know and love gives way to mellow fruity and floral notes without bitter tartness. Once you get to know this version of limes, they’ll be a pantry staple you reach for again and again. Dice the rind to add a sweet citrus dimension to marinades, vinaigrettes, or carne asada. You can even stir them into your morning Greek yogurt to switch up your breakfast routine.

It couldn’t be easier to get from bitter sourness to mellow fruitiness. With a little salt and patience, you’ll have preserved chili limes in just a month. Since limes bring their own juice to the party, you don’t even need to worry about a brine. When the preservation process is over, you won’t be eating the lime flesh (it soaks up too much salt to be palatable), but the rind, so we recommend choosing organic or minimally-processed produce. When the limes are ready, rinse the fruit, ditch the flesh, and cut up the rinds. Slice them for garnish, or finely chop to mix an extra dose of delicious citrus into your next dish.
Prep
20 min
Makes
60 servings

Equipment

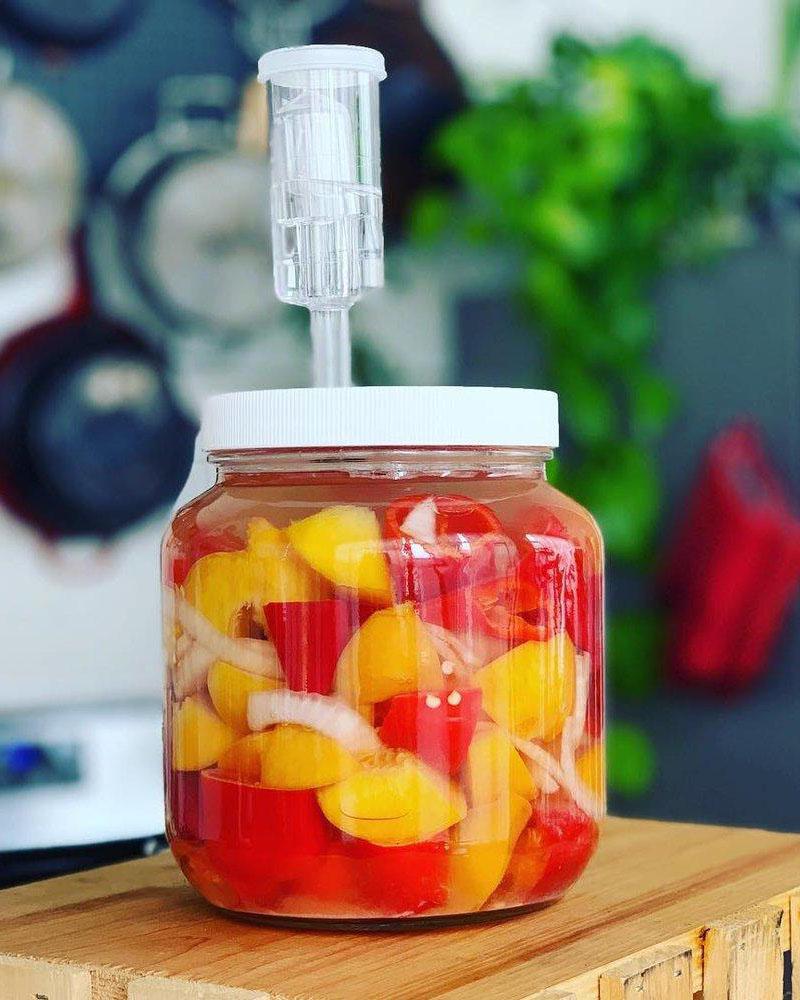
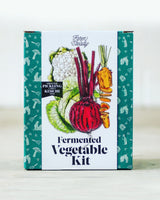
  • Fermented Vegeetable Kit

Ingredients

  • 15 limes
  • 1 cup kosher salt
  • 5-6 dried chilis
  • 1 cup water

Directions

  1. Trim the ends of the limes and then cut an x at the top to quarter, slice down 80% of the way leaving the wedges attached at one end. Rub all cut surfaces with a generous amount of kosher salt and then reform.

  2. Cover the bottom of your fermentation jar with 1/2 inch of salt. Pack 5-6 limes and add a tablespoon of salt. Pierce chili peppers with a knife and tuck 2-3 between limes every layer. Repeat for all limes.

  3. Add fermentation weight and gently press down so the limes release their juices. pour in water, limes should be fully submerged. Questions about fermentation weights? Check out our Fermentation Weight Guide.

  4. Top with lid and airlock (Need help? Check out our How to Assemble Airlock Video). Let ferment at room temperature for 1-2 months.

  5. When your limes are ready to eat, give a quick rinse to get off the excess salt, cut the peel into slivers and add into any dish you want.

3.9 · 10 ratings

Rate this recipe

Bestselling kits.

  1. Sourdough Bread Making Kit - 1 - FarmSteadySourdough Bread Making Kit - 7 - FarmSteady
    5.0

    Sourdough Bread Making Kit

    Bake your own beautifully golden-brown sourdough bread from scratch, and discover why nothing else quite co...

    $55
  2. Italian Fresh Cheese Making Kit - 1 - FarmSteadyItalian Fresh Cheese Making Kit - 4 - FarmSteady
    4.4

    Italian Fresh Cheese Making Kit

    Make some of the richest, creamiest cheeses you’ll ever taste — in a kitchen no bigger than your own. Our I...

    $35
  3. Rainbow Bagel Kit - 1 - FarmSteadyNeon Bagel Kit - FarmSteady
    4.8

    Rainbow Bagel Kit

    Create vibrantly-swirled rainbow bagels in your own kitchen. Delightfully playful with a perfectly crisp ba...

    $35
  4. Fermented Hot Sauce Kit - 1 - FarmSteadyFermented Hot Sauce Kit - 2 - FarmSteady
    4.9

    Fermented Hot Sauce Kit

    The best hot sauces are fermented. Whether your favorite is mild, refreshing and green, or smoky, blazing h...

    $40

Leave a comment

Comments are checked before they publish.