Fermented garlic is the flavor upgrade your kitchen has been waiting for—bold, deeply savory, and bursting with rich umami flavor. Not only does lacto-fermenting garlic mellow out its sharp bite, but it also creates a versatile, ready-to-use condiment that instantly upgrades any dish. Whether you're stirring it into pasta, mixing it into dressings, or spreading it directly on toast, fermented garlic is your new culinary best friend.

Using just garlic, salt, water, and the FarmSteady Fermented Vegetable Kit, you can make a batch of delicious fermented garlic that's easy enough for beginners and satisfying enough for seasoned fermenters. We're going big here—peeling 12 full heads of garlic—because once you start using fermented garlic, you'll find endless ways to enjoy it.
What Exactly is Lacto-Fermentation?
Lacto-fermentation is a traditional method of preservation that uses salt and water to create a brine environment where beneficial bacteria thrive. These beneficial bacteria—primarily lactobacillus—transform raw garlic into a tangy, probiotic-rich condiment. The fermentation process enhances flavor, preserves the garlic naturally, and creates a unique culinary ingredient that can elevate dishes from ordinary to extraordinary.
Why You'll Love Fermented Garlic
-
Flavor Upgrade: Fermentation deepens and enhances garlic’s natural umami flavors, making it smoother, richer, and more versatile.
-
Convenience: With fermented garlic on hand, you save prep time—no peeling or mincing when you're ready to cook.
-
Extended Shelf Life: Fermentation naturally preserves garlic, allowing you to store it in the fridge for several months.
-
Versatility: Perfect in pasta dishes, sauces, soups, marinades, salad dressings, or simply spread onto crusty bread.
-
Minimal Ingredients: All you need are garlic, salt, water, and your fermentation kit.
Storing and Using Your Fermented Garlic
One of the best things about this recipe? The garlic is minced before fermentation, making it easy to scoop straight from the jar whenever you need it. Once your batch is done fermenting, store it in the fridge, fully submerged in its brine. This keeps it fresh, flavorful, and ready to use.
As you work your way through your jar, just move the garlic into smaller containers to reduce air exposure, keep things tasting their best, and to save space in your fridge. We always know it’s time to start a new batch when we’re down to that last little jar.
Delicious Ways to Use Fermented Garlic:
-
Stir into pasta sauces or marinara.
-
Blend into creamy salad dressings and marinades.
-
Mix into softened butter for an unbeatable garlic spread.
-
Add a spoonful to soups, stews, or chili for depth of flavor.
-
Spread directly on toasted bread, topped with sliced avocado or fresh tomatoes.
If you're loving this project and want to try another variation, check out our popular Fermented Honey Garlic recipe. It’s a sweet and savory twist that’s just as simple to make—and just as addictively good.
With your first batch of fermented garlic ready, your culinary adventures are just beginning. Ready to keep exploring? Subscribe to the FarmSteady YouTube channel for more DIY food inspiration, and visit farmsteady.com for recipes, tips, and our full range of fermentation kits. Happy fermenting!
Equipment

- FarmSteady Fermented Vegetable Kit
- Food Processor (recommended for saving time)
Ingredients
- 12 heads of garlicwhole heads, not cloves
- 2 tablespoons kosher saltavoid iodized salt for best results
- 1 quart filtered waterchlorine-free water encourages better fermentation
Directions
Prepare Your Garlic: Break apart all 12 heads of garlic into individual cloves. Peel thoroughly—this is the most time-consuming part, but consider it meal-prep time invested wisely for future flavor-packed dishes.
Mince Garlic: Place your peeled garlic cloves into a food processor. Pulse until finely minced. A food processor makes this process efficient and effortless, giving you consistent, even-sized pieces ideal for fermentation.
Make Your Brine: Combine 2 tablespoons of kosher salt with 1 quart of filtered water, stirring until the salt dissolves completely. The brine creates an optimal environment for beneficial lactobacillus bacteria.
Pack Your Fermenter: Transfer your minced garlic to your FarmSteady fermenter. Pour brine over garlic until fully submerged, leaving at least 1 inch of headspace to allow for expansion during fermentation.
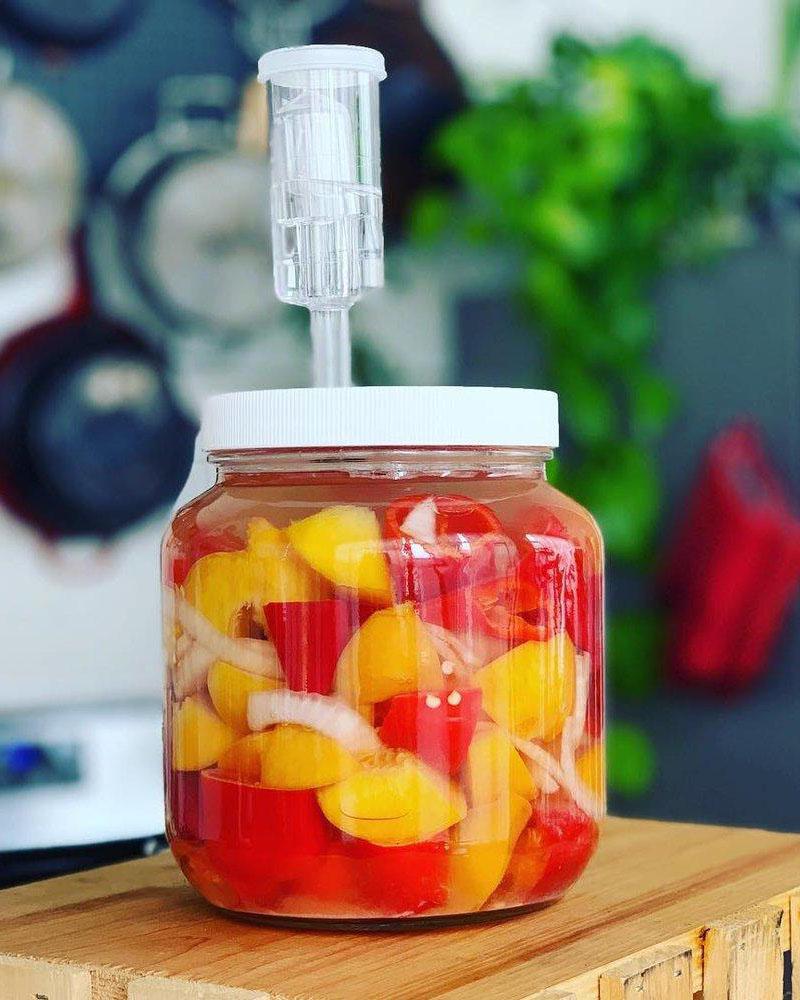
Seal and Ferment: Skip the fermentation weight for garlic since it naturally stays submerged. Attach the lid and airlock to your fermenter securely. Allow garlic to ferment at room temperature for about 7–10 days, checking occasionally to ensure all garlic remains submerged.
Taste-Test and Store: After about two weeks, taste your garlic. It should have a pleasant tangy aroma and a deep, savory flavor. Once satisfied, move your garlic in jars into the refrigerator.
Notes
Common Questions and Troubleshooting:
How long should I ferment garlic?
We recommend 7–10 days at room temperature. The exact time can vary based on temperature and personal taste. Start tasting around day 10. You're looking for a mellow garlic flavor with a tangy, slightly sour aroma.
Do I have to peel all the garlic?
Yes—but only once! Peeling 12 heads of garlic takes time, but since you're fermenting it minced, you’ll have garlic ready to use for months. Consider it a one-time investment in future flavor.
What if my garlic changes color?
Garlic can turn blue, green, or purple during fermentation. This is totally normal and caused by natural sulfur compounds reacting with trace minerals. It’s safe to eat and doesn't affect the taste.
Why is there no weight in this recipe?
Mined garlic is small and tends to stay submerged on its own. A fermentation weight would just sink to the bottom and isn’t needed here.
My garlic smells strong—is that okay?
Yes! Fermented garlic should smell garlicky, tangy, and savory. If it smells truly off (like rot or sulfur), something went wrong and you should discard it. But a bold aroma is expected.
How do I know if my garlic has spoiled?
Good fermented garlic smells tangy and appetizing. Discard it if it smells foul, develops mold, or appears slimy.
Can I use garlic from the grocery store?
Yes! Fresh, firm heads of garlic from the grocery store work great. Just avoid pre-peeled or previously refrigerated garlic, which may not ferment as well.
What if my garlic floats a bit?
Some garlic pieces may float. Just make sure everything stays mostly under the brine and give it a gentle push down if needed. Floating bits are usually not a problem unless they start to dry out or mold.
Do I need to burp the jar?
Not with the FarmSteady Fermented Vegetable Kit—it uses an airlock to let gases escape while keeping oxygen out. If you’re using using a jar with a solid lid, then you may need to burp (or loosen the jar's lid) occasionally.
Can I make a smaller batch?
Definitely. You can scale the recipe down easily—just maintain the same ratio of salt to water (2 tablespoons salt per quart of water) and keep everything submerged.
Can I use tap water?
Chlorine can inhibit fermentation, so filtered water is recommended.
Rate this recipe