
Have your homemade sourdough dreams been on hold because you’re waiting to get your hands on a starter? You know a good sourdough starter is what makes the bread, and you might be thinking that you need to have inherited a 100 year old starter from San Francisco in order to start. But we’re here to let you in on a little secret: Even if you did have the good fortune of inheriting a multi-generational starter, the truth is as soon as you introduce it to a new environment it’s going to change. So while it started out as a San Francisco, or French or heirloom sourdough starter, its new identity is your home.

This isn’t to say established starters don’t have value and if you’ve been gifted one, don’t toss it. A lot of the characteristics that made someone keep that starter to begin with are still going to come through. But if you have been putting off sourdough just waiting for a starter to enter your life we’re here to tell you the wait is over, you can grow your own sourdough starter from scratch with just flour, water and a little bit of babysitting.
How is that possible? Sourdough breads rely on wild yeast for leavening instead of the cultivated bread yeast that is most modern bread making relies on. Those quick-rise packets of baking yeast are exactly that, yeast designed to produce a lot of CO2 quickly for dough to rise, and not much else in terms of flavor. Wild yeast on the other hand has a mind of its own. Wild yeast is all around us, in the air, on our hands, in our flour. So what you’re doing with a sourdough starter is creating an environment where that wild yeast can flourish. And once it is established that starter will reward you with complex flavors, chewy textures, gaps of air and sturdy crusts.
It is the stuff of sourdough you have been dreaming of. Now all you need to do is grow your own starter.
Ingredients
- 10 ounces white bread flour
- 10 ounces whole wheat bread flour
- 20 ounces water
Directions
A note on flour. Try to use the same flour for your starter as you do for your final bake. That means if you are looking to primarily bake whole wheat bread, build a whole wheat flour starter. We like the versatility that a half-white/half-wheat starter gives us.
A note on measurements. A fluid ounce of water basically equals an ounce by weight. So when measuring water, use whatever’s easiest.
Day 1: In a 2-quart glass container, add 2 ounces white bread flour, 2 ounces whole wheat bread flour, and 4 ounces water. Stir until fully combined into a thick dough. Cover with butter muslin or a clean kitchen towel and secure with a rubber band. Let sit in a warm area (ideally around 70° F) for 24 hours.
Day 2: Uncover your starter. It won’t look like much yet (just a thick dough that might be starting to dry). Add an additional 2 ounces white bread flour, 2 ounces whole wheat bread flour, and 4 ounces water. Stir until fully combined into a thick dough. Recover and let sit in a warm area (ideally around 70° F) for another 24 hours.
Day 3: Uncover your starter. Add an additional 2 ounces white bread flour, 2 ounces whole wheat bread flour, and 4 ounces water. Stir until fully combined, the dough should feel lighter and more airy than the first two days. Recover and let sit in a warm area (ideally around 70° F) for another 24 hours.
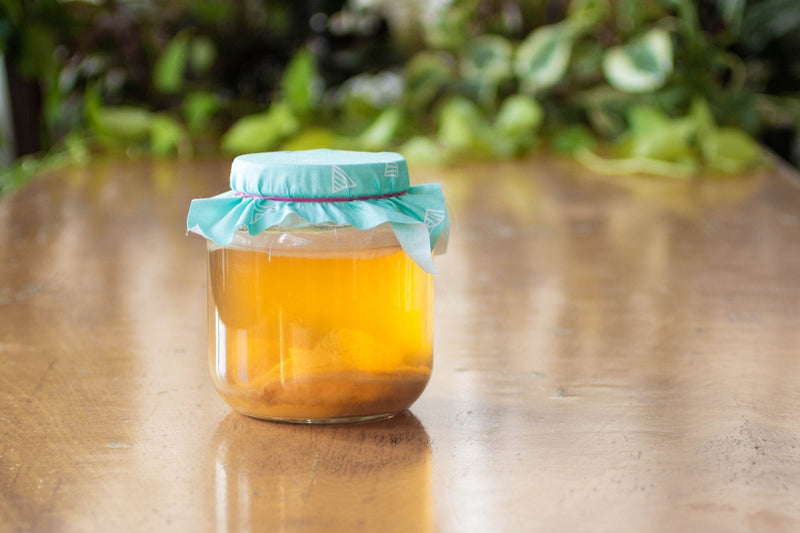
Day 4: Uncover your starter. At this point you’ll likely see some bubbles in the dough and it should have a pleasant yeasty aroma. Add an additional 2 ounces white bread flour, 2 ounces whole wheat bread flour, and 4 ounces water. Stir until fully combined. Recover and let sit in a warm area (ideally around 70° F) for another 24 hours.
Day 5: Uncover your starter. By day 5 it should be bubbly and airy and smell yeasty and slightly sour. Add an additional 2 ounces white bread flour, 2 ounces whole wheat bread flour, and 4 ounces water. Stir until fully combined into a bubbling dough. Your starter is now ready to use and will keep getting better with age.
3.8 · 87 ratings
Rate this recipe

3 comments
Just learning
Wanda
Don’t use this recipe — it’s way off.
You should be discarding half of the starter before you add in days 2-6 and the water to flour ratio is off (instead of 1:1 it should be 2:1 flour:water). I followed this recipe and did not get an active starter – just wasted an entire week.
Danielle
Would I be able to make my sourdough recipe by cutting it in half — 1 oz each white & whole wheat bread flours & 2 oz water each time ?
Sarah